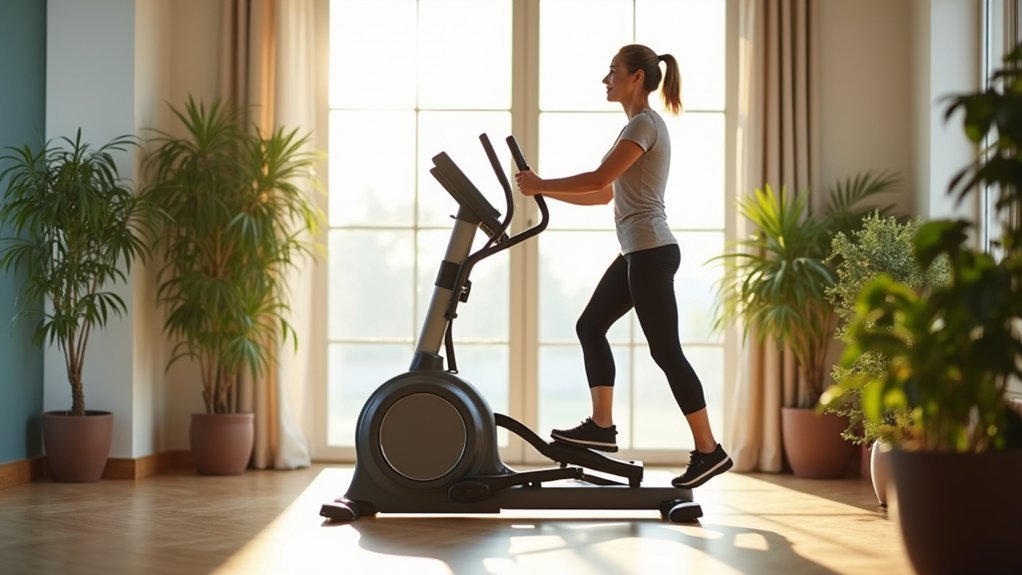
To minimize joint pain on an elliptical, start with low resistance settings (3-5 on a 1-10 scale) and keep the incline at zero or minimal elevation. Adjust the stride length to match your natural walking gait, and maintain proper posture with knees aligned over your toes. Focus on smooth, controlled movements rather than speed, and gradually increase intensity only as your comfort improves. These foundational adjustments will reveal additional strategies for optimizing your joint-friendly workout experience.
Understanding How Elliptical Settings Affect Your Joints
When you’re dealing with joint pain, understanding how elliptical settings impact your body becomes vital for maintaining an effective yet comfortable workout routine.
Your elliptical machine offers multiple adjustments that directly influence how much stress you place on your knees, hips, and ankles during exercise.
Resistance levels determine the force required for each movement, with lower settings reducing strain on your joints while still providing cardiovascular benefits.
Lower resistance settings protect your joints from excessive stress while delivering the same heart-healthy cardiovascular workout benefits.
Incline settings affect your natural stride pattern—moderate inclines maintain proper alignment, while steep angles can create unnecessary pressure.
Your stride length should match your natural gait to prevent overextension and joint strain.
Each adjustment works together to create either a joint-friendly environment or one that exacerbates existing pain, making proper configuration essential for your comfort.
The Science Behind Low-Impact Exercise and Joint Protection
Because elliptical machines eliminate the repetitive impact forces that occur during traditional running or walking on hard surfaces, they create an environment where your joints can move through their natural range of motion without experiencing the jarring stress that typically leads to inflammation and pain.
This low-impact exercise approach protects your joints through three key mechanisms:
- Continuous foot contact – Your feet never leave the pedals, preventing the shock absorption duties your knees and hips normally handle during running.
- Adjustable resistance control – You can modify intensity without increasing joint strain, maintaining proper form throughout your workout.
- Bilateral muscle engagement – Upper and lower body coordination enhances joint stability while distributing workload evenly.
Research confirms ellipticals deliver comparable calorie burn to treadmills without compromising joint health, making them ideal for sustained cardiovascular fitness.
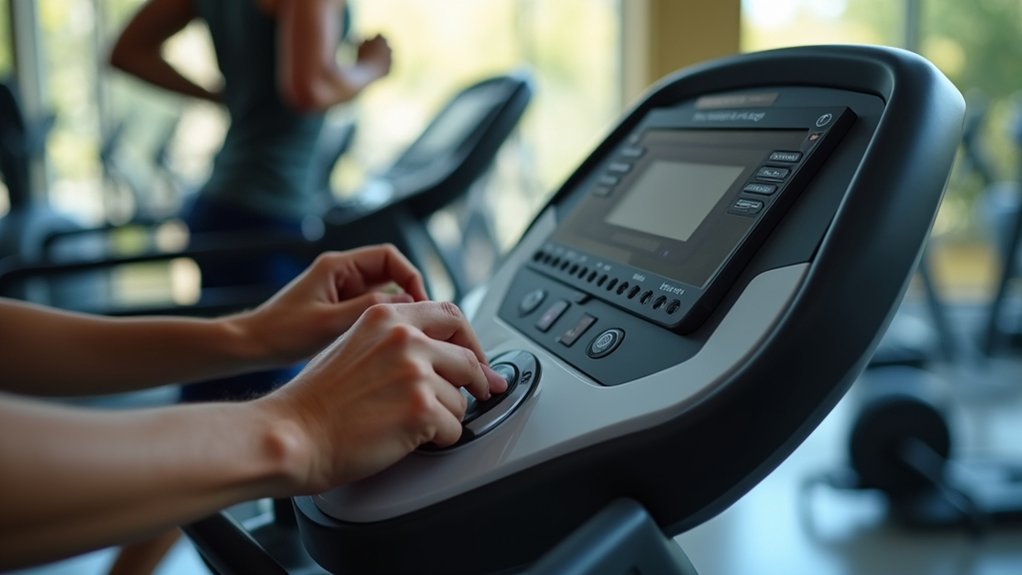
Resistance Settings: Finding Your Sweet Spot for Comfort
Most elliptical users make the mistake of cranking up resistance too high too quickly, inadvertently placing unnecessary stress on their joints when they’re specifically exercising to protect them.
You’ll want to start with low resistance levels around 3-5 on a 1-10 scale, allowing you to maintain proper form and a comfortable workout pace without excessive effort.
Focus on finding resistance levels that match your comfort level rather than pushing through discomfort. If you’re experiencing joint pain during your workout, immediately decrease the resistance until you can exercise pain-free.
Higher resistance targets your quadriceps more intensely, while lower settings emphasize cardiovascular benefits. Remember to regularly reassess your settings as your strength improves, ensuring your workouts remain effective while protecting your joints.
Stride Length Adjustments for Natural Movement Patterns
Although resistance settings play an essential role in joint comfort, your elliptical’s stride length adjustment can make an even bigger difference in preventing joint pain and maintaining natural movement patterns.
Finding the right stride length reduces joint strain by allowing your body to move as it naturally would. When your stride feels too long or short, you’ll compensate with improper form that increases pressure on your knees and hips.
Follow these steps for minimizing joint pain:
- Test different lengths – Most ellipticals offer 18-24 inch adjustments.
- Keep feet flush – Both feet should remain flat on pedals throughout the motion.
- Monitor comfort – Regularly assess how your joints respond during workouts.
Your ideal stride length aligns with your height and leg length, creating comfortable biomechanics that protect against injury.
Incline Features: Distributing Workload Across Muscle Groups

You’ll find that adjusting your elliptical’s incline can greatly reduce joint pain by spreading the exercise workload across multiple muscle groups instead of overloading specific areas.
Setting a moderate incline of 5-10 degrees engages your glutes and hamstrings more effectively, taking pressure off your knees and promoting better movement mechanics.
This strategic muscle distribution not only minimizes discomfort but also maximizes your workout’s effectiveness without adding stress to vulnerable joints.
Optimal Incline Levels
Anyone dealing with joint pain can benefit greatly from understanding how incline settings distribute workload across different muscle groups on an elliptical machine.
Finding the ideal incline reduces stress on sensitive joints while maintaining effective cardiovascular benefits and muscle engagement.
Research shows moderate incline levels between 1-5% provide the best balance for joint health:
- Low impact distribution – Spreads workload evenly across muscle groups, reducing concentrated pressure on knees and hips
- Enhanced glute activation – Engages posterior muscles more effectively without overloading knee joints
- Gradual progression capability – Allows incremental increases as your joints adapt and strengthen over time
You’ll maintain excellent cardiovascular benefits while protecting your joints.
Regularly adjusting incline during workouts keeps muscles engaged and accommodates your comfort levels, creating a safer exercise environment for managing joint pain.
Muscle Group Distribution
The strategic distribution of muscle workload through incline adjustments transforms your elliptical trainer workout into a joint-friendly exercise that targets multiple muscle groups simultaneously.
When you adjust incline settings, you’re effectively redistributing stress across your quadriceps, hamstrings, and glutes rather than overloading any single area. Higher inclines emphasize your glutes and hamstrings, while lower settings focus on your quadriceps.
This balanced approach greatly reduces joint strain by preventing repetitive stress on specific joints like your knees. You’ll experience improved muscle activation and strength gains without increasing injury risk.
Pain Reduction Benefits
Beyond muscle conditioning benefits, incline adjustments directly tackle joint pain through biomechanical improvements that reshape how forces move through your body.
The incline feature fundamentally alters your movement patterns, reducing impact while maintaining cardiovascular workout intensity.
Research confirms that strategic incline use delivers measurable pain reduction benefits:
- Decreased Joint Stress – Incline settings redistribute impact forces away from vulnerable areas like knees and hips, minimizing compression and friction that typically cause discomfort.
- Enhanced Movement Efficiency – Modified biomechanics create smoother motion patterns that reduce strain on specific joint structures while preserving workout effectiveness.
- Improved Joint Stability – Regular incline training strengthens supporting muscles around joints, creating better structural support and reducing pain during exercise.
You’ll experience these benefits immediately while building long-term joint health.
Speed Control: Maintaining Comfortable Movement Pace
While many people rush to increase their elliptical speed for a more intense workout, controlling your movement pace is actually one of the most effective ways to protect your joints.
Speed control allows you to maintain a comfortable movement pace that reduces joint stress while keeping proper posture throughout your workout.
Starting slower gives you better control over your form and alignment, which minimizes strain on your knees and hips.
You’ll find that a steady, moderate pace lets you focus on engaging both your upper and lower body effectively.
As your fitness improves, you can gradually increase speed without overwhelming your joints.
Listen to your body and adjust according to your comfort level to prevent overuse injuries and create a sustainable workout routine.
Heart Rate Settings for Joint-Friendly Cardio
Since your heart rate directly reflects your workout intensity, using heart rate settings on your elliptical creates the perfect balance between effective cardio and joint protection.
These automated settings adjust resistance based on your current heart rate, preventing overexertion that could trigger joint pain.
Smart resistance adjustments based on heart rate data help maintain optimal workout intensity while protecting joints from harmful overexertion.
Most elliptical machines feature built-in heart rate monitors that provide real-time feedback, helping you stay within the ideal 50-70% of your maximum heart rate range.
This moderate intensity zone delivers excellent cardiovascular training benefits while minimizing stress on your joints.
Here’s how to maximize heart rate settings for joint-friendly workouts:
- Monitor consistently – Keep your heart rate within the moderate zone throughout your session
- Start gradually – Begin with lower target zones and increase over time
- Listen to feedback – Adjust intensity immediately when monitors indicate you’re exceeding safe limits
Manual vs. Programmed Settings for Arthritis Management
When managing arthritis on an elliptical, you’ll need to choose between manual control and programmed settings to optimize your joint comfort.
Manual settings let you customize resistance and incline levels gradually, helping you avoid sudden strain that could aggravate your symptoms.
Programmed options like “Weight Loss” or “Interval” provide structured workouts with varied resistance levels that can maintain joint flexibility while ensuring consistent, low-impact engagement.
Manual Control Benefits
Although programmed workouts offer convenience, manual control provides superior benefits for arthritis management on elliptical machines.
You’ll maintain complete authority over resistance and incline adjustments, preventing unexpected changes that could trigger joint pain. This predictable approach lets you customize your exercise experience according to your body’s daily needs.
Manual control offers three key advantages for arthritis management:
- Gradual Progression – You can start with minimal resistance and slowly increase workout intensity as your joints adapt.
- Real-Time Adjustments – You’re able to immediately reduce settings when discomfort arises.
- Form Focus – Consistent settings help you maintain proper alignment and technique throughout your session.
You’ll avoid overexertion while building strength systematically, making manual control the best choice for long-term joint health and sustainable fitness progress.
Programmed Settings Advantages
While manual control offers significant benefits, programmed settings provide distinct advantages that can enhance your arthritis management routine.
These automated features adjust resistance and incline automatically, preventing overexertion that could worsen joint pain. You’ll maintain consistent workout intensity without constantly monitoring your effort levels, allowing you to focus on proper form and breathing.
Heart rate programs keep you within safe cardiovascular zones while minimizing joint stress.
Interval settings offer structured recovery periods between higher-intensity bursts, giving your joints time to adapt without stopping completely.
Customizing Workouts for Different Joint Conditions
Every joint condition demands a unique approach to elliptical training, and you’ll need to adjust your machine’s settings based on your specific limitations and pain points.
For knee pain, focus on lower resistance and minimal incline to create an effective low-impact cardio routine. Hip issues require maintaining proper stride alignment and avoiding excessive range of motion. Back problems benefit from upright posture and moderate resistance levels.
Consider these condition-specific adjustments:
- Arthritis sufferers should emphasize consistent, gentle movement with warmer temperatures and longer warm-up periods.
- Post-injury recovery requires coordination with physical therapy recommendations and gradual progression monitoring.
- Chronic pain conditions need flexible workout timing based on daily symptom fluctuations.
Your elliptical workout should complement your treatment plan while building strength safely.
Pre-Existing Knee and Hip Issues: Special Considerations
When you’re dealing with pre-existing knee and hip conditions, your elliptical approach requires heightened attention to alignment and movement patterns that won’t aggravate existing damage.
You should consult a healthcare professional before beginning any elliptical routine to establish safe parameters for your specific condition.
Focus on maintaining proper posture throughout your workout. Keep your knees aligned with your toes and avoid excessive forward lean.
Start with minimal resistance and moderate incline settings to reduce joint stress on vulnerable areas.
Gradually increase workout intensity over several weeks rather than pushing too hard initially.
Monitor your pain levels constantly and adjust immediately if discomfort increases.
If you experience sharp pain or swelling, stop exercising and reassess your approach with professional guidance.
Warm-Up and Cool-Down Setting Progressions
Although proper elliptical settings help protect your joints during exercise, they’re only part of the equation—you’ll need strategic warm-up and cool-down progressions to maximize joint protection and workout effectiveness.
Your warm-up should begin with 5-10 minutes at low resistance, gradually increasing your heart rate while preparing muscles and joints. Include dynamic stretches like leg swings and arm circles to enhance flexibility and mobility.
Here’s your essential progression strategy:
- Start Low: Use minimal resistance and low-to-moderate incline settings to minimize joint strain.
- Add Movement: Incorporate dynamic stretches during warm-up to improve range of motion.
- End Gradually: Cool-down with 5-10 minutes of reduced pace, followed by static lower-body stretches.
This approach allows your heart rate to return to normal gradually while relieving muscle tension and improving overall flexibility.
Testing and Adjusting Settings Over Time
You’ll need to gradually increase resistance levels over several weeks, starting with minimal settings that feel comfortable for your joints.
Pay close attention to how your body responds during and after each workout, noting any increases in pain or discomfort that signal you’ve pushed too hard.
This systematic approach helps you find your ideal settings while avoiding setbacks that could worsen joint issues.
Gradual Resistance Progression
Since your joints need time to adapt to increased workload, starting with minimal resistance and gradually progressing upward becomes essential for long-term success.
Gradual resistance progression helps reduce strain on your joints while building strength systematically.
You’ll want to increase resistance thoughtfully using these guidelines:
- Small increments only – Add 1-2 resistance levels at a time to allow proper muscle and joint adaptation.
- Test regularly – Experiment with different levels to find your sweet spot between effectiveness and joint comfort.
- Track your progress – Keep a workout log documenting how resistance changes affect your comfort and performance.
This methodical approach guarantees your body can adapt without excessive stress.
Consider consulting a fitness professional for personalized guidance tailored to your specific joint health needs and fitness goals.
Pain Response Monitoring
Your body’s pain signals serve as a valuable compass when fine-tuning elliptical settings for joint comfort. Pain response monitoring requires consistent attention during and after each workout session.
You’ll need to track discomfort levels associated with specific resistance, incline, and stride configurations. Document these observations in a detailed workout journal, noting which settings trigger joint pain and which provide relief.
A physical therapist can guide you through systematic testing protocols, helping identify ideal parameters for your specific condition.
Pay close attention to delayed pain responses—discomfort that emerges hours after exercise often indicates overexertion. Make settings adjustments based on your documented patterns rather than guesswork.
This methodical approach transforms trial-and-error into data-driven optimization, ensuring your elliptical routine supports joint health rather than compromising it.
When to Seek Professional Guidance for Setting Optimization
When should you consider reaching out to a healthcare professional for help with your elliptical settings? If you’re experiencing persistent knee pain or discomfort during workouts, it’s time to get expert guidance. A physical therapist can evaluate your exercise form and recommend specific adjustments to resistance and incline levels that’ll work best for your body.
Here’s when professional guidance becomes essential:
- Pre-existing conditions – If you have osteoarthritis or other joint issues, you need tailored settings that minimize strain on affected areas.
- Persistent pain – Any ongoing discomfort requires professional evaluation to prevent further injury.
- Progression planning – A professional trainer can help optimize your settings as your fitness improves, ensuring safe intensity increases that support joint health.
Frequently Asked Questions
How to Use an Elliptical Without Hurting Your Knees?
You’ll protect your knees by maintaining proper form with aligned knees and toes, starting with low resistance, using moderate incline, adjusting stride length naturally, and wearing supportive shoes with good cushioning.
What Settings Should I Use on an Elliptical?
Start with low resistance and moderate incline settings. Adjust stride length naturally for comfort. Use heart rate modes for intensity control. Track your metrics easily to maintain manageable workout levels that support your fitness goals.
Is Elliptical Good for Joint Pain?
Yes, you’ll find ellipticals excellent for joint pain because they provide low-impact cardiovascular exercise. The smooth gliding motion reduces stress on your knees, hips, and ankles while strengthening supporting muscles.
What Level Should I Use on the Elliptical?
You should start with resistance level 1-3 and gradually increase as you adapt. Set incline between 1-5 degrees. Choose a comfortable stride length and adjust resistance during workouts based on your body’s response.


Leave a Reply