
You’ll protect your joints with recumbent cycling by choosing bikes with wide seats and stable frames, then adjusting seat height to hip level for proper knee alignment. Master smooth pedaling at 80-100 RPM while focusing on glute activation to reduce knee strain. Start with 10-15 minute low-intensity sessions, monitoring pain levels on a 0-10 scale before and after rides. Incorporate warm-ups, cool-downs, and strengthen supporting muscles twice weekly. These foundational strategies reveal cycling’s full joint-healing potential.
Choose the Right Recumbent Bike for Your Needs
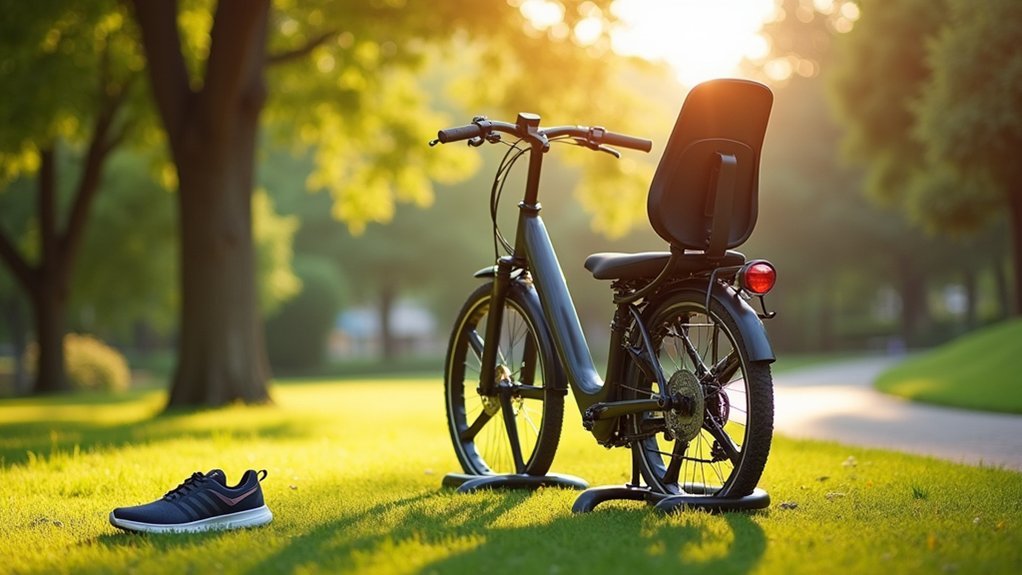
Why settle for a standard exercise bike when a recumbent bike can transform your joint health?
You’ll need the right features to maximize benefits and minimize strain.
Look for wider seats with backrests that support your spine and reduce pressure on sensitive joints. Choose models with stable frames and low step-through designs – they’ll make mounting safer and easier, especially if you’re dealing with mobility challenges or arthritis.
An adjustable seat is vital for proper positioning. You’ll want to customize height and angle to match your leg length and maintain ideal posture during your low-impact exercise routine.
Test the pedaling mechanism for smoothness and verify adjustable resistance levels accommodate your fitness progression. Proper pedal alignment keeps your knees positioned correctly, preventing discomfort during workouts.
Proper Bike Setup and Positioning for Joint Health
Getting the right bike is just the beginning – your setup determines whether you’ll experience joint relief or unwanted strain.
Start with proper bike setup by adjusting seat height to hip bone level, creating a slight knee bend at the bottom of each pedal stroke. This alignment protects your knee joints from excessive stress.
Position the backrest at a slight recline to support your lower back while maintaining upright posture. Move the seat forward or backward until your knees sit directly above your feet when pedals reach the 3 o’clock position.
Secure your feet with straps or proper pedals to prevent lateral movement that compromises joint health.
Remember to regularly reassess your positioning as your flexibility and strength change over time.
Master the Correct Pedaling Technique
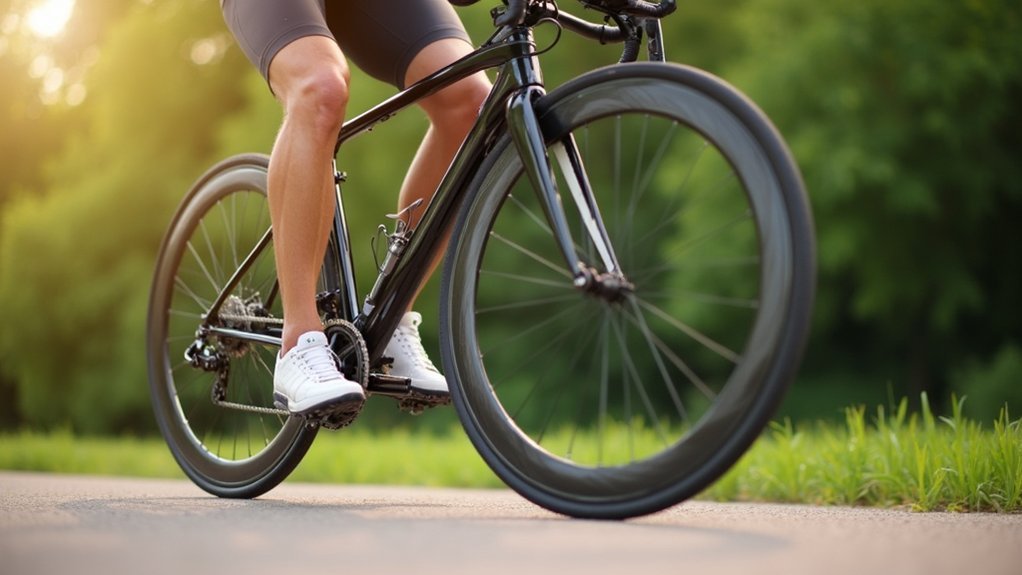
Your pedaling technique directly impacts how much stress you place on your joints during recumbent cycling.
You’ll want to focus on activating your glutes throughout each pedal stroke, which helps distribute the workload away from your knees and creates a more efficient power transfer.
Maintaining a steady cadence between 80-100 RPM keeps your joints moving smoothly while reducing the pressure that comes from grinding through heavy resistance at slower speeds.
Focus on Glute Activation
While most cyclists focus solely on leg strength, engaging your glutes during the downstroke transforms your pedaling technique and dramatically reduces knee strain.
On recumbent bikes, proper glute activation shifts power away from overworked quadriceps, providing significant relief from knee pain.
To maximize glute engagement, angle your knees slightly outward while pedaling. This positioning distributes effort more efficiently across muscle groups.
If you notice your glutes aren’t firing properly, pause your workout and perform targeted glute exercises before continuing.
Alternate glute activation between legs to guarantee balanced muscle distribution and prevent overuse injuries.
Remember, maintaining ideal seat height and posture is essential for effective glute activation.
- Consciously engage glutes during each downstroke to reduce quad dominance
- Check positioning regularly – knees slightly outward enhances muscle recruitment
- Stop cycling when glutes disengage; perform activation exercises instead
Maintain Proper Cadence
Cadence represents the foundation of joint-friendly cycling, determining whether you’ll experience smooth, pain-free rides or suffer from knee discomfort.
You’ll want to maintain 80-100 RPMs during your recumbent cycling sessions to minimize stress on your knee joints. This higher cadence promotes smoother pedaling techniques that protect your knees from harmful strain.
Focus on spinning rather than grinding through heavy resistance. When you push big gears at low cadence, you’re forcing your knee joints to handle excessive pressure with each pedal stroke.
Instead, choose lighter resistance and increase your pedaling speed. This exercise approach distributes workload more evenly across muscle groups while reducing peak forces on your knees.
Your legs will thank you as smooth, controlled pedaling becomes second nature, maximizing both joint health and cycling endurance.
Start With Low Intensity and Gradual Progression
Because joint health requires patience and careful attention, beginning with gentle 10 to 15-minute sessions at low intensity sets the foundation for long-term success.
Patience and gentle progression form the cornerstone of sustainable joint health improvement through low-intensity exercise.
When you start with low intensity cycling, you’re allowing your joints to adapt without overwhelming them. This approach is particularly beneficial for knee osteoarthritis management.
As you gradually increase your cycling duration by 5 to 10 minutes per session, you’ll build endurance safely.
Monitor your pain levels on a zero-to-ten scale before and after each ride to guide your progression.
- Never increase intensity by more than 10% weekly to prevent overexertion
- Incorporate rest days when experiencing persistent discomfort for proper recovery
- Focus on smooth pedaling without resistance initially to promote joint adaptation
Focus on Glute Activation During Cycling
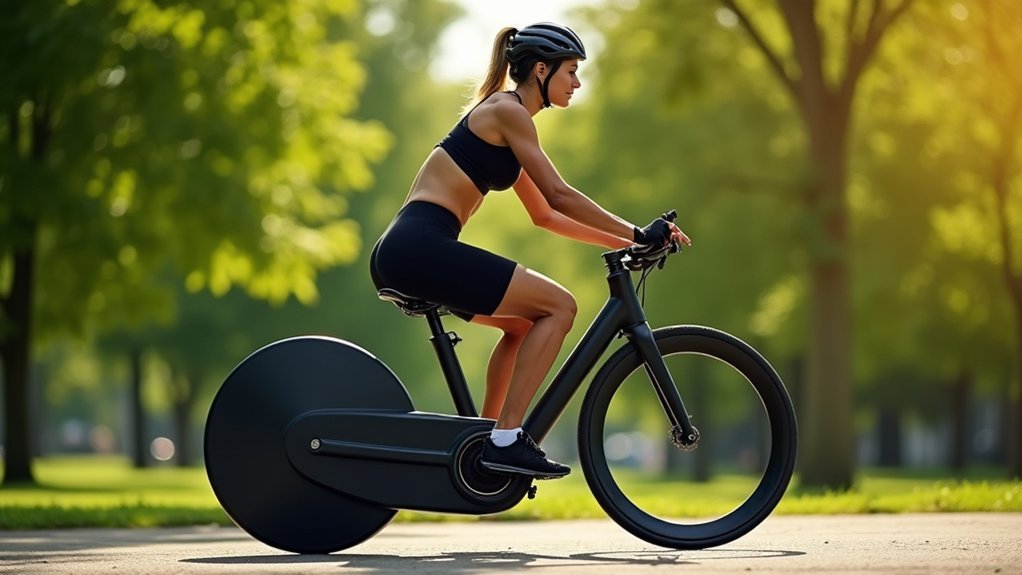
When you’re cycling on a recumbent bike, consciously engaging your glute muscles transforms how your legs work together and greatly reduces the strain on your knee joints.
You’ll want to focus on pushing down and pulling up during each pedal stroke while deliberately activating your glutes to distribute the workload more evenly across your leg muscles.
This proper engagement technique not only protects your knees from excessive pressure but also builds the foundational strength needed for long-term joint health.
Proper Glute Engagement Technique
Three key techniques will transform your recumbent cycling experience by properly engaging your glute muscles throughout each pedal stroke.
When you consciously push down and pull up on the pedals, you’ll activate different muscle groups and reduce knee joint pressure. This cycling technique distributes effort evenly, making exercise more sustainable for arthritic joints.
- Push-Pull Technique: Alternate between pushing down with one leg while pulling up with the other to maximize glute activation.
- Outward Knee Positioning: Slightly angle your knees outward during pedaling to facilitate better glute muscle engagement.
- Pre-Cycling Glute Prep: Perform targeted glute exercises before cycling if you don’t feel activation to prevent quadriceps overreliance.
Consistent practice strengthens these muscles, improving mobility and managing joint pain effectively.
Reducing Knee Joint Pressure
While most cyclists rely heavily on their quadriceps, you’ll find that proper glute activation dramatically reduces the strain on your knee joint during recumbent cycling.
When you consciously engage your glutes during each downstroke, you’ll distribute the workload more evenly across muscle groups, preventing quadriceps overuse that commonly leads to knee discomfort.
Try angling your knees slightly outward while pedaling to enhance glute engagement and provide better knee joint support. This technique shifts pressure away from vulnerable knee structures while maintaining efficient power transfer.
Beyond your recumbent sessions, incorporate dedicated strengthening exercises targeting your glutes.
Strong posterior chain muscles improve your cycling form naturally, creating better alignment and reducing joint stress.
Monitor your technique consistently to guarantee ideal glute activation throughout every ride.
Maintain Optimal Range of Motion
Achieving approximately 120 degrees of knee bending creates the foundation for effective recumbent cycling without pain.
Optimal knee flexion of 120 degrees establishes the cornerstone for pain-free recumbent cycling performance and joint protection.
When you maintain ideal range of motion, you’ll experience smoother pedaling while protecting your joints from unnecessary strain.
Limited knee motion can worsen discomfort, so you’ll want to incorporate regular mobility exercises before each cycling session.
Proper bike setup guarantees your seat height allows for a slight bend in your knee at the bottom of each pedal stroke, promoting efficient mechanics.
Key strategies for maintaining ideal knee flexibility:
- Perform pre-cycling stretches to improve knee motion and prepare joints for exercise
- Adjust seat position regularly based on comfort feedback and pain location
- Monitor your posture throughout sessions to maintain proper alignment and joint health
Regular bike fit adjustments help enhance your range of motion and prevent existing knee issues from worsening.
Monitor Pain Levels and Adjust Accordingly
You’ll need to track your pain levels on a 0-10 scale before and after each cycling session to identify patterns and make necessary adjustments.
If your pain increases by more than two points post-ride or you experience sharp, shooting pain, you must reduce your intensity by 50% or stop immediately.
Allow yourself two full days of recovery when persistent pain occurs, as proper rest is essential for joint healing and long-term success.
Track Pain Scale
A simple numeric scale becomes your most valuable tool for managing joint health during recumbent cycling sessions.
Record your pain levels from zero to 10 before and after each ride to assess exercise impact on your joints. This systematic approach helps you identify patterns and triggers that affect your comfort levels.
- Monitor pre and post-ride pain levels – Document ratings before starting and immediately after finishing each cycling session.
- Reduce effort by 50% – If pain increases by more than two points post-ride, scale back your cycling intensity considerably.
- Stop immediately for sharp pain – Discontinue cycling if you experience shooting or acute pain sensations.
Share your track pain scale data with your health care provider to address any mobility issues effectively through informed discussions.
Reduce Intensity Signs
Three key warning signs indicate when you must immediately reduce your recumbent cycling intensity to protect your joints from further damage.
First, if your pain increases by more than two points on the zero-to-ten scale after cycling, cut your effort by 50%. Second, sharp or shooting pain demands you stop immediately and allow proper recovery. Third, persistent pain lasting beyond your workout requires a two-day rest period.
| Warning Sign | Action Required |
|---|---|
| Pain increases 2+ points | Reduce effort by 50% |
| Sharp/shooting pain | Stop cycling immediately |
| Persistent pain | Take 2-day recovery break |
| General discomfort | Monitor and assess |
| Joint stiffness | Gentle movement only |
Remember to build up your strength gradually, starting with low resistance to reduce intensity when needed.
Recovery Time Guidelines
Beyond recognizing warning signs, you’ll need structured recovery protocols to maintain long-term joint health while recumbent cycling. Proper recovery time prevents overexertion and promotes healing when pain persists after your sessions.
- Monitor pain levels before and after each cycling session using a 0-10 scale to determine if adjustments are necessary.
- Allow minimum two days of recovery when experiencing continued pain after cycling to prevent further joint stress.
- Reduce cycling effort by 50% if pain increases more than two points post-session.
Make sure you’re listening to your body’s signals and adjusting accordingly.
Consider using a knee brace for additional support during recovery periods. Start with 10-15 minutes without resistance, then gradually increase duration by 5-10 minutes as your joints adapt comfortably to sustained activity.
Incorporate Warm-Up and Cool-Down Routines
While many cyclists jump straight onto their recumbent bikes, you’ll maximize your joint health benefits by establishing consistent warm-up and cool-down routines.
Your warm-up should include dynamic stretches like leg swings and arm circles to enhance blood flow and prepare muscles for exercise. This preparation reduces injury risk and improves joint mobility before you start pedaling.
After cycling, don’t skip your cool-down phase. Gradually lower your heart rate while allowing lactic acid to clear from your muscles.
Focus on static stretches targeting your quads, hamstrings, and calves to improve flexibility and reduce post-ride tightness.
These consistent routines will enhance your cycling performance, contribute to long-term joint health, and minimize discomfort during future recumbent biking sessions.
Build a Sustainable Cycling Schedule
Establishing proper warm-up and cool-down habits sets the foundation for your next important step: creating a cycling routine you can maintain long-term.
Start with 20 minutes on your recumbent bike, 3 to 5 days weekly, focusing on smooth pedaling without resistance initially. As your joints adapt and you develop full range of motion, gradually increase duration by 5 to 10 minutes per week.
Break sessions into shorter increments if needed, allowing recovery between rides. Monitor your pain levels before and after each workout, adjusting accordingly.
Once you’re comfortable with longer durations, slowly add resistance to build strength while maintaining joint health.
- Set weekly goals to increase cycling time by 5-10 minutes
- Track pain levels to adjust intensity appropriately
- Allow adequate recovery time between sessions
Combine Cycling With Strengthening Exercises
Once you’ve established your cycling routine, adding targeted strengthening exercises will amplify your joint health benefits. Focus on key muscle groups like quadriceps, hamstrings, and glutes through leg lifts and resistance band workouts. This strength training enhances muscle support around your joints, reducing pain and improving stability while making recumbent cycling more effective.
Aim for two to three strength training sessions weekly, choosing low-impact exercises that complement your cycling schedule. This balanced approach improves joint function and mobility, creating a more enjoyable recumbent cycling experience for those with joint issues.
Beyond joint health, combining recumbent cycling with strengthening exercises boosts your metabolism and assists weight management. This reduces stress on weight-bearing joints, creating a thorough fitness regimen that supports long-term joint wellness.
Frequently Asked Questions
What Is One Disadvantage to Riding a Recumbent Bike?
You’ll experience decreased quadriceps activation compared to upright cycling, which limits your overall muscle strengthening benefits. The comfortable seating position can also reduce your cardiovascular workout intensity considerably.
How Long Should You Ride a Recumbent Bike Daily?
You should ride a recumbent bike for 20 to 30 minutes daily. If you’re a beginner, start with 10 to 15 minutes and gradually increase duration as you build comfort and endurance.
Is a Recumbent Bike Good for Bad Knees?
You’ll find recumbent bikes excellent for bad knees since they reduce joint pressure and strain. The comfortable seating position distributes your weight evenly while promoting natural pedaling motion that won’t worsen knee discomfort.
How Far Should Your Legs Extend on a Recumbent Bike?
Your legs should extend to about 75% to 90% of full extension at the bottom of the pedal stroke. Keep a slight bend in your knees to prevent strain and guarantee proper alignment.


Leave a Reply