After hip surgery, you’ll rebuild strength through a progressive exercise program. Start with gentle non-weight bearing movements like quad contractions, ankle pumps, and glute squeezes. As you heal, incorporate core stability exercises and gradually advance to more challenging movements. Work with your physical therapist three times weekly for personalized guidance. Manage pain with ice, elevation, and proper rest between sessions. Following this structured approach will transform your recovery journey from dependence to confident mobility.
7 Second-Level Headings for “Rebuild Hip Strength Fast: Essential Post-Surgery Exercises”
While planning your hip strength recovery journey, you’ll need clear guidance on the essential exercise categories that promote healing.
Your post-hip replacement rehabilitation should focus on these key areas:
“Early Mobility Fundamentals,” covering those vital first movements within days of surgery;
“Progressive Strengthening Techniques,” detailing glute and supporting muscle exercises;
“Range of Motion Restoration,” featuring activities to improve flexibility safely;
and “Balance and Functional Recovery,” outlining exercises that guide you back to daily activities.
Physical therapy sessions will guide you through each category, gradually increasing intensity as you heal.
Each heading in your recovery plan should emphasize both the exercises and necessary safety precautions to prevent dislocation.
Understanding Your Hip Replacement Journey
Before jumping into specific exercises, you’ll need a clear picture of what lies ahead after hip replacement surgery. Your journey begins immediately post-operation, when your medical team will introduce gentle movements to start rebuilding strength in your new joint.
Your physical therapist will become an essential partner, guiding you through exercises specifically designed to address your hip problems. These sessions—typically three times weekly for 30-60 minutes—progressively increase your range of motion and restore stability.
Recovery timelines vary, but you’ll likely advance from assisted walking to independent movement within weeks. Most patients receive clearance for more demanding activities after six weeks.
Throughout this process, remember that both physical and emotional adjustments are normal as you adapt to your enhanced mobility and diminishing pain.
Early Recovery: Non-Weight Bearing Exercises To Start With

You’ll want to start with quad contractions while resting in bed, as these gentle isometric exercises help maintain muscle tone without stressing your new hip.
Performing ankle pumps throughout the day isn’t just easy—it’s vital for preventing dangerous blood clots that can form during limited mobility.
Consistent glute squeezes build the foundation for stability and provide critical support for your hip joint as you progress toward weight-bearing activities.
Quad Contractions While Resting
Hospital beds become the starting line for hip recovery, and quad contractions are your first sprint toward regaining strength. This gentle strengthening exercise targets your quadriceps while protecting your new hip joint from stress.
To perform quad contractions, lie flat on your back with legs extended. Tighten the muscles in the front of your thigh while keeping your leg straight, hold for 5 seconds, then release. You’ll feel the engagement without straining your hamstring muscles or disturbing your surgical site.
Aim for 10 repetitions initially, gradually increasing as you build endurance. Since these are non-weight bearing exercises, you can safely perform them immediately after surgery.
Consistent practice will notably improve your muscle tone and prepare you for more advanced strengthening exercises later in your recovery journey.
Ankle Pumps Prevent Clots
Blood circulation becomes your ally against dangerous clots after hip surgery, with ankle pumps serving as your first line of defense.
While you’re confined to bed rest during early recovery, these simple movements activate your calf muscles to keep blood flowing properly through your lower legs.
Perform ankle pumps by lying flat and alternately pointing your toes forward, then flexing them back toward you. Hold each position for 5 seconds to fully engage the muscles.
Aim for 10 repetitions per set, completing 2-3 sets daily as recommended by your healthcare provider.
Make ankle pumps part of your routine, especially during non-weight bearing periods. This consistent practice considerably reduces swelling while preventing dangerous blood clots.
Your commitment to this basic exercise pays dividends throughout your recovery journey.
Glute Squeezes Build Foundation
While ankle pumps protect against clots, your gluteal muscles need attention to build the foundation for successful hip rehabilitation.
Glute squeezes are simple yet powerful exercises that strengthen the muscles supporting your hip joint during early recovery.
To perform effective glute squeezes:
- Lie on your back with legs extended comfortably.
- Contract your gluteus muscles deliberately while maintaining your position.
- Hold each contraction for 5 seconds before releasing.
- Repeat until you complete your prescribed set.
These contractions help build essential strength when weight-bearing activities aren’t possible.
By incorporating glute squeezes into your daily routine, you’ll develop stability that supports future mobility exercises.
This foundational work reduces pain and improves hip function during those significant early recovery weeks.
Your commitment to these seemingly small movements creates the strength platform necessary for successful rehabilitation.
Building Core Stability For Hip Support
Your core muscles act as silent guardians for your healing hip, creating a stable foundation that protects the joint during movement.
By engaging your deep stabilizers through gentle exercises like modified planks and bridging, you’ll build the internal support system essential for proper hip alignment.
This core strength won’t just speed up your recovery—it’ll also prevent compensatory patterns that could derail your progress.
Engaging Deep Stabilizers
Three critical muscle groups form your deep stabilization system, yet they’re often overlooked during hip rehabilitation.
Your transverse abdominis, pelvic floor, and deep hip muscles directly support your hip joint during recovery, creating a foundation for faster healing.
Activating these deep stabilizers improves your core stability and protects your new hip joint from excessive strain.
Research shows patients who strengthen these muscles experience less pain and better function post-surgery.
Try these effective stabilization exercises:
- Gentle pelvic tilts – Lie on your back and slowly tilt your pelvis forward and backward
- Modified planks – Support your weight on forearms and knees to engage your core
- Breathing with abdominal bracing – Draw navel toward spine while breathing deeply
- Seated pelvic floor contractions – Gently engage and release your pelvic floor muscles
Protecting Healing Joints
Because your hip joint requires considerable protection during recovery, developing core stability becomes a critical safeguard against reinjury. Your core muscles act as a natural brace, reducing stress on the healing hip while improving your overall balance during rehabilitation activities.
Focus on gentle exercises like abdominal squeezes and modified bridges to activate the muscles that support your hip without compromising your surgical site. These targeted movements help maintain proper alignment, addressing the root of your hip problem rather than just treating symptoms.
You’ll notice improved stability as you progress, making hip-specific exercises safer and more effective. The stronger your core becomes, the faster you’ll regain functional mobility.
This foundation not only accelerates recovery but considerably enhances your quality of life post-surgery.
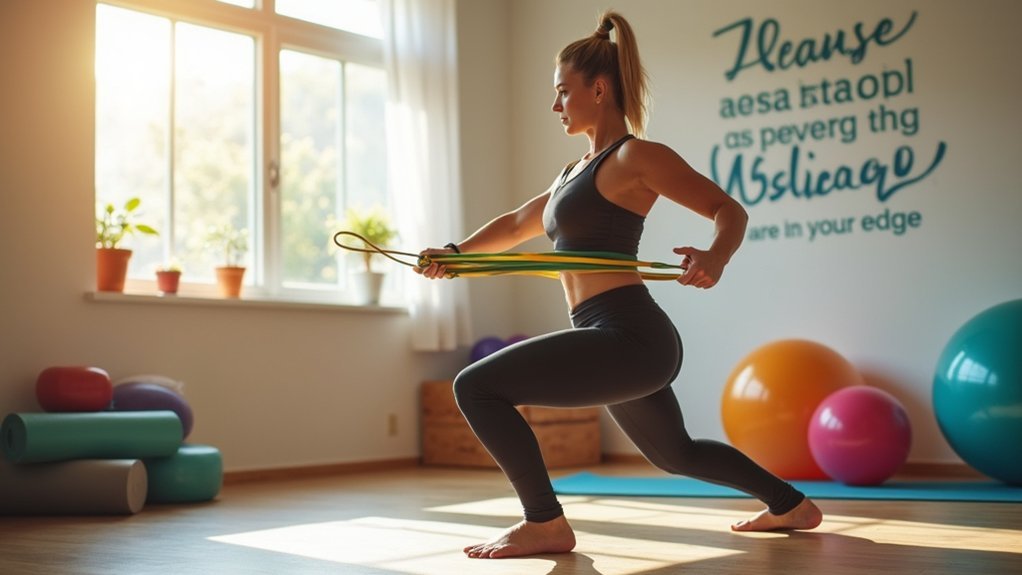
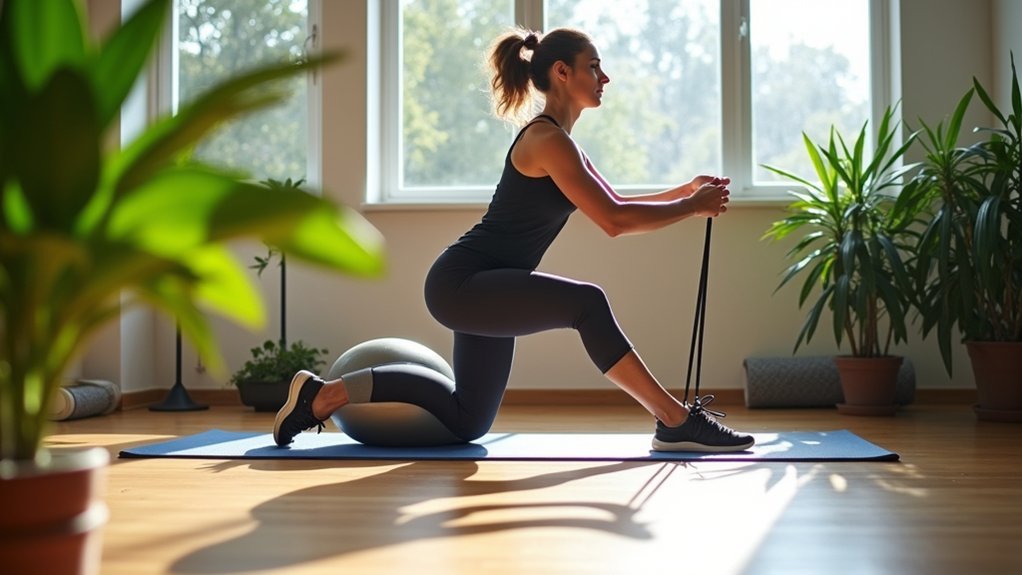
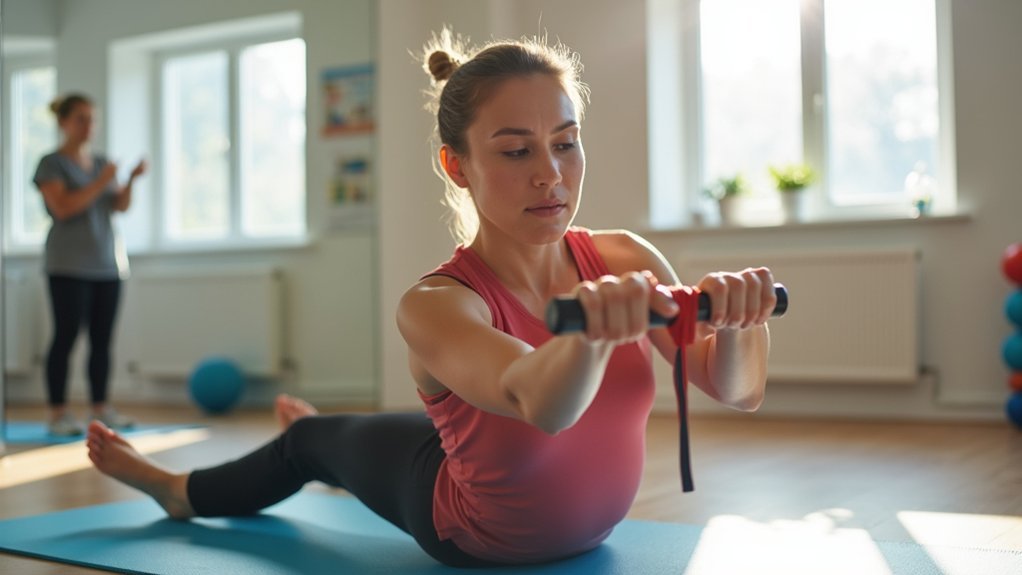
Progressive Strengthening: From Basic To Advanced Movements
Rebuilding hip strength requires a carefully structured approach that gradually increases intensity as your muscles adapt.
Start with gentle exercises to reduce hip pain while activating key muscles and tendons after hip surgery. As healing progresses, you’ll systematically challenge your body with more demanding movements.
- Begin with fundamentals – Perform ankle pumps, quad squeezes, and glute contractions to improve circulation and wake up dormant muscles.
- Advance to controlled movements – Practice heel slides and straight leg raises, working from 10 to 20 repetitions as strength builds.
- Incorporate stability exercises – Add standing hip extensions and sideways lifts to reinforce balanced muscle development.
- Challenge your recovery – Graduate to mini-squats and sit-to-stand exercises once you’ve mastered the basics.
Always consult your physical therapist before progressing to confirm you’re protecting your healing joint.
Managing Swelling And Pain During Exercise
While you work to rebuild your hip strength, managing swelling and pain effectively becomes essential for consistent progress.
After exercise sessions, elevate your surgical leg to heart level for at least 20 minutes and apply ice packs with a protective barrier for 15-20 minutes to reduce inflammation.
Post-exercise care: Elevate your leg and apply ice to effectively combat inflammation and support your hip’s healing journey.
When resting, perform ankle pumps and circles (10 repetitions each) to stimulate circulation and minimize swelling.
Monitor your pain levels during exercises, aiming to stay between 0-5 on the pain scale to guarantee safe rehabilitation.
Balance activity with adequate rest periods, gradually increasing your out-of-home activities while watching swelling responses.
If swelling persists or worsens after several days despite these measures, contact your surgeon immediately for additional guidance.
Transitioning Back To Daily Activities Safely
As your hip strength improves, you’ll need to approach everyday activities with careful planning and gradual progression. Most patients return to regular routines within three months, but it’s crucial to talk to your surgeon about your specific timeline and restrictions.
- Start with short walks – Gradually increase your distance while using assistive devices as recommended to stabilize your leg and hip.
- Maintain your physical therapy regimen – Consistently perform prescribed exercises to rebuild strength necessary for daily movements.
- Manage swelling proactively – Rest, elevate, and apply ice after activities to prevent complications that could slow your recovery.
- Communicate with your healthcare team – Report any unusual pain or limitations to guarantee you’re progressing safely through each recovery milestone.
Frequently Asked Questions
How to Regain Strength After Hip Surgery?
You’ll regain strength after hip surgery by doing prescribed exercises like ankle pumps, thigh squeezes, and straight leg raises. Attend physical therapy 2-3 times weekly and gradually increase repetitions as you improve.
What Is the Most Important Exercise After Hip Replacement Surgery?
The straight leg raise is your most important exercise after hip replacement surgery. It strengthens your quadriceps and improves hip stability while you keep your knee straight. Don’t skip it!
What Is the Best Exercise for Strengthening Hips?
Glute bridges are your best option for strengthening hips. You’ll target multiple hip muscles simultaneously while maintaining proper alignment. Perform them with your back supported and focus on controlled movements for maximum benefit.
How Do You Build Muscle After Hip Surgery?
You’ll build muscle after hip surgery by consistently performing prescribed exercises like quad squeezes, glute squeezes, and ankle pumps. Do these 2-3 times daily, starting with 10 reps and gradually increasing as you get stronger.
In Summary
You’ve now got the essential exercises to rebuild your hip strength after surgery. Remember to progress gradually and listen to your body’s signals. With consistent effort and your medical team’s guidance, you’ll move from basic exercises to daily activities with growing confidence. Stay patient—each small improvement brings you closer to the active, pain-free lifestyle you’re working toward.


Leave a Reply