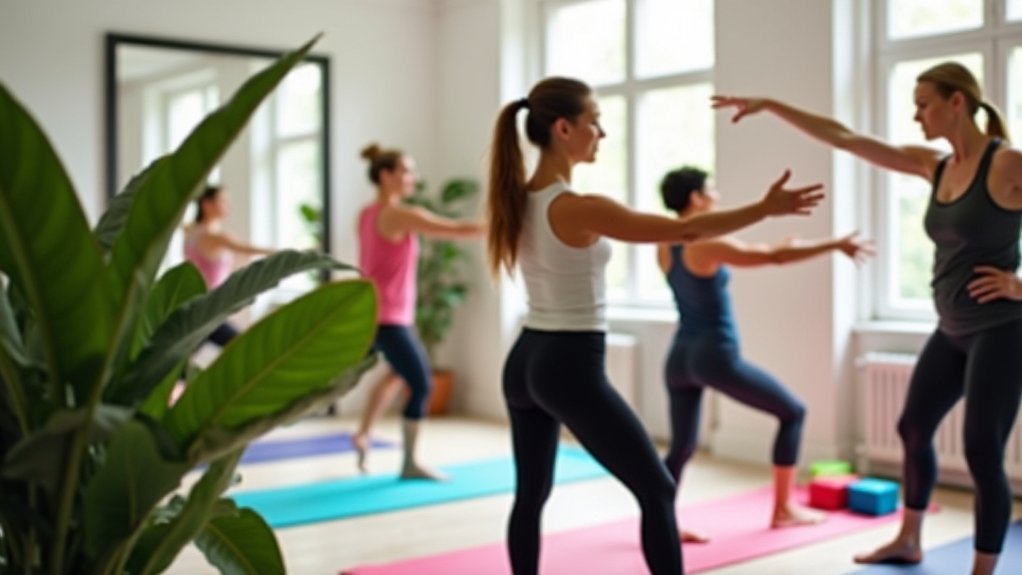
Restore your shoulder mobility with these essential exercises: pendulum swings, wall angels, doorway stretches, cross-body arm stretches, resistance band external rotations, foam roller angels, seated rows, child’s pose, sleeper stretches, and weighted wall angels. Start with gentle movements like pendulum swings for severe pain, gradually progressing to strengthening exercises as mobility improves. Consistent practice 2-3 times weekly will maximize recovery and prevent future injuries. Discover how these targeted techniques can transform your shoulder function below.
Understanding Shoulder Mobility vs. Flexibility

When rehabilitating a shoulder injury, understanding the difference between mobility and flexibility creates a foundation for effective recovery.
Shoulder mobility refers to your joint’s ability to move through its full range of motion, while flexibility specifically addresses how well your muscles can lengthen. This distinction matters because improving shoulder health requires addressing both aspects appropriately.
With limited shoulder mobility, you’ll likely develop compensatory movements that increase your risk of shoulder injuries elsewhere in your body. Your tight shoulders might function daily, but they’re silently compromising ideal movement patterns.
That’s why targeted mobility exercises are significant—they restore proper function while preventing the stiffness that leads to overuse problems.
Pendulum Swings for Gentle Rehabilitation
Pendulum swings offer a gentle entry point into shoulder rehabilitation when you’re properly positioned with your torso bent forward and non-injured arm supported.
You’ll create healing circular motions by relaxing your injured shoulder completely and allowing gravity to guide your arm in small, controlled movements.
As your pain decreases, you can gradually increase the diameter of your circles and add light weights to progress your rehabilitation effectively.
Proper Setup Position
The correct setup position forms the foundation for effective pendulum swings during shoulder rehabilitation.
Start by standing next to a sturdy table or surface that provides reliable support. Position yourself so your affected arm can hang down completely relaxed and straight.
Lean forward slightly from your hips while maintaining a straight back—this natural position allows gravity to assist with the motion. Your unaffected hand should rest on the support surface for stability.
Make sure you’re comfortable and balanced, as proper alignment prevents additional strain on your shoulder.
This setup creates ideal conditions for pain-free movement and maximum benefit from these gentle rehabilitation exercises.
Circular Motion Techniques
Once you’ve established proper positioning, gentle circular motions form the core of effective pendulum exercises for shoulder rehabilitation.
Begin with small circles, allowing gravity to guide your arm while maintaining relaxed shoulder muscles. As you gain confidence, gradually increase the circle size to improve mobility without forcing movement beyond your comfort zone.
- Start with 30-second intervals of clockwise pendulum swings to reduce stiffness
- Let your arm hang freely, using body weight rather than muscle force
- Progress to counterclockwise motions to improve range of motion evenly
- Aim for 1-minute sessions as your shoulder joint adapts to the exercise
- Focus on smooth, controlled movements rather than speed or intensity
These gentle circular motions enhance blood flow to the shoulder joint, promoting healing while safely rebuilding mobility during the critical early rehabilitation phases.
Progression Through Pain
Pain management marks the cornerstone of successful shoulder rehabilitation, especially when incorporating pendulum swings into your recovery routine. As you work through your shoulder stiffness, gradually increase the range and speed of these gentle exercises while staying within your comfort zone.
Perform pendulum swings for 1-3 minutes several times daily to promote healing and increase blood flow to the affected area. You’ll notice improved mobility as you progress.
| Pain Level | Pendulum Swing Approach | Duration |
|---|---|---|
| Severe | Small, gentle circles | 1 minute |
| Moderate | Medium circles, slow pace | 2 minutes |
| Mild | Larger range, varied directions | 3 minutes |
Cross-Body Arm Stretch for Rotator Cuff Recovery
While many shoulder rehabilitation exercises can be challenging, the Cross-Body Arm Stretch stands out as a simple yet effective technique for rotator cuff recovery. This stretch specifically targets your rear shoulder muscles, enhancing flexibility and reducing shoulder stiffness during the healing process.
The Cross-Body Arm Stretch offers a straightforward approach to rotator cuff rehabilitation, targeting posterior shoulder muscles for improved mobility during recovery.
- Stand with feet slightly narrower than shoulder-width apart
- Bring your right arm across your body at chest level
- Support the stretched arm with your opposite hand
- Hold for 30 seconds to promote blood flow to the area
- Repeat 3-5 times on each side for best results
You’ll find this stretch particularly valuable if you’re recovering from a rotator cuff injury, as it improves joint mobility without excessive strain.
Consistent practice not only aids your current recovery but helps prevent future shoulder issues during physical activities.
Wall Angels to Improve Scapular Movement

Wall Angels require precise positioning against the wall with your entire back, head, and arms maintaining contact throughout the movement to effectively train proper scapular mechanics.
You’ll notice improvements not only in shoulder mobility but also in posture and upper back strength as these movements retrain muscle patterns throughout your thoracic region.
Start with basic wall contact exercises before progressing to full range-of-motion angels if you’re experiencing significant tightness or discomfort in your shoulders.
Proper Technique Matters
Because proper form greatly impacts effectiveness, mastering Wall Angels requires attention to detail.
Maintaining wall contact with your head, shoulders, and lower back prevents compensatory movements that diminish benefits to your rotator cuff muscles. Focus on controlled movements rather than speed to enhance scapular stability and shoulder function.
- Keep your lower back, head, and shoulders against the wall throughout the entire exercise
- Move your arms in deliberate Y and W patterns to target the trapezius and serratus anterior
- Perform 2-3 sets of 10 repetitions with proper technique rather than rushing through more reps
- Include Wall Angels in your exercise routine 2-3 days weekly for consistent improvement
- Be especially diligent with form if you experience shoulder stiffness or have a sedentary lifestyle
Benefits Beyond Shoulders
Although primarily known as a shoulder exercise, Wall Angels deliver remarkable benefits that extend far beyond shoulder rehabilitation.
You’ll notice improved posture as they target your middle and lower trapezius, counteracting the effects of prolonged sitting and poor ergonomics.
When you practice Wall Angels regularly, you’re enhancing scapular movement through better retraction and depression of your shoulder blades.
This improved control of shoulder mechanics doesn’t just increase your range of motion—it enables better performance in overhead activities while reducing injury risk.
Your upper back muscles activate considerably during this exercise, contributing to overall shoulder stability.
Even if you’re dealing with mobility limitations, studies suggest that incorporating Wall Angels into your routine can lead to substantial improvements in shoulder function and decreased discomfort over time.
Progressive Difficulty Levels
As you master the basic wall angel technique, you’ll want to explore progressively challenging variations that enhance your shoulder rehabilitation journey.
Your shoulder conditioning program should gradually increase in difficulty to improve your range of motion and enhance scapular movement over time.
- Quarter Wall Slides – Begin with small movements to reduce tension while establishing proper form
- Swiss Ball Wall Angels – Add instability to engage more core muscles while stretching exercises target your upper body
- Foam Roller Angels – Perform on a foam roller to increase proprioceptive awareness and shoulder mobility
- Weighted Wall Angels – Add light resistance to build strength alongside mobility
- Dynamic Wall Angels – Incorporate timing variations (slow, pause, pulse) to challenge shoulder stability and endurance
Doorway Stretch for Chest and Anterior Deltoids
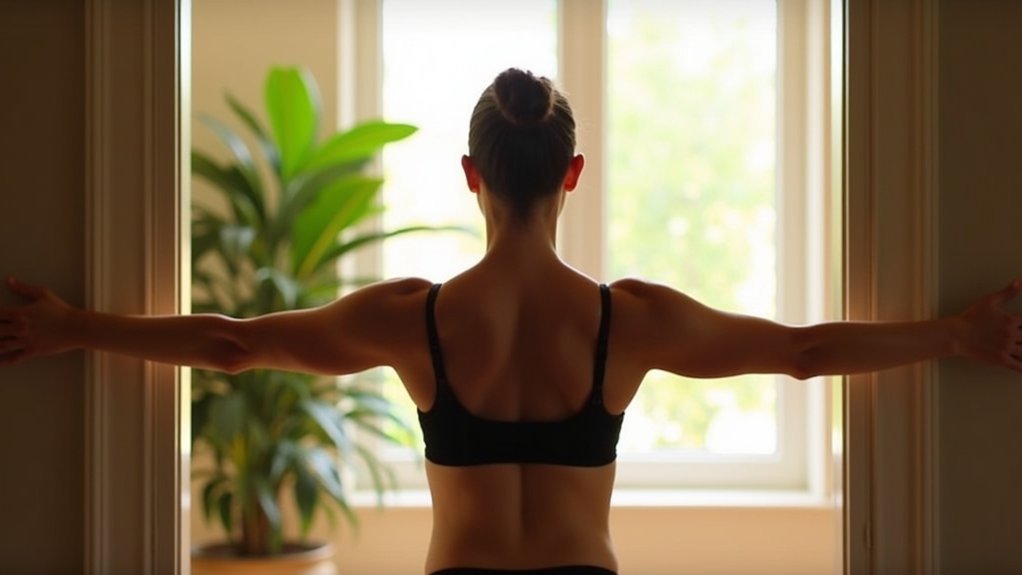
The doorway stretch serves as one of the most effective exercises for targeting tight chest muscles and anterior deltoids.
To perform this mobility enhancer, position yourself in a doorway with your arms on the frame at shoulder height. Lean forward gently while keeping your back straight to intensify the stretch throughout your pectoralis major, minor, and shoulder region.
Hold the stretch for 15-30 seconds and repeat 3-5 times per side.
You’ll find this particularly beneficial if you spend hours at a desk, as it relieves the shoulder tightness that develops during prolonged sitting.
Sleeper Stretch for Internal Rotation
Internal rotation mobility often becomes restricted in shoulder injuries, making the Sleeper Stretch an invaluable recovery tool. This targeted stretch focuses on the infraspinatus and teres minor muscles, which are essential for proper shoulder function.
You’ll need to lie on your affected side with your shoulder directly under your body, bend your elbow to 90 degrees, and use your opposite hand to gently guide your arm toward the floor.
- Hold each stretch for 15-30 seconds to effectively improve shoulder mobility
- Repeat the stretch 3 times on each side for balanced flexibility
- Particularly beneficial if you’re experiencing rotator cuff issues or frozen shoulder
- Helps prevent future shoulder injuries by maintaining proper internal rotation
- Can be integrated into your daily routine for consistent shoulder recovery progress
Resistance Band External Rotations
Mastering proper form in resistance band external rotations guarantees you’re effectively targeting the infraspinatus and teres minor muscles without straining your shoulder joint.
You’ll benefit most from gradually increasing resistance as your rotator cuff strengthens, allowing for continued improvement in shoulder stability and mobility.
These controlled movements specifically address shoulder vulnerability, making them essential for preventing future injuries and supporting recovery from existing shoulder conditions.
Proper Form Matters
Three critical elements define effective resistance band external rotations: proper positioning, controlled movement, and consistent form.
When you’re working on shoulder mobility, maintaining proper posture is essential to prevent shoulder injuries and maximize benefits. Stand tall with your shoulders relaxed and your elbow bent at 90 degrees while performing the external rotation movement.
- Keep your elbow close to your body throughout the entire range of motion
- Control the rotation speed—avoid using momentum to complete the movement
- Position the resistance band at hip height for ideal shoulder stability
- Focus on the infraspinatus and teres minor muscles activating as your arm rotates outward
- Maintain a neutral spine position rather than arching your back to compensate
Progressive Resistance Benefits
As your shoulder healing progresses, resistance band external rotations offer a uniquely scalable approach to rehabilitation.
You’ll directly target the infraspinatus and teres minor muscles, essential components of your rotator cuff that maintain shoulder stability during everyday movements.
Research confirms that progressive resistance training considerably reduces pain while improving shoulder mobility. By gradually increasing band resistance as you gain strength, you’ll continuously challenge these muscles, promoting ongoing adaptation throughout your recovery journey.
The beauty of external rotations lies in their versatility – you can adjust resistance based on your current capabilities while maintaining proper form.
This customizable approach helps restore muscular strength and coordination, particularly beneficial for overhead activities. Regular practice also creates balanced muscle development around your shoulder joint, reducing your risk of re-injury and supporting long-term shoulder health.
Injury Prevention Focus
Resistance band external rotations serve as a powerful shield against future shoulder injuries.
You’ll greatly reduce your risk by incorporating this essential rotator cuff exercise into your routine just three days weekly. Perform 3 sets of 8-12 repetitions, keeping your elbow close to your body while rotating outward for maximum muscle engagement.
- Strengthens infraspinatus and teres minor muscles vital for shoulder stability
- Reduces shoulder pain by up to 68% when included in structured rehabilitation programs
- Enhances overall shoulder mobility for everyday movements and athletic performance
- Prevents overuse injuries common in overhead sports like tennis and swimming
- Complements other stretching exercises to create balanced shoulder strength
This mobility exercise isn’t just for injury recovery—it’s your best defense against future shoulder problems when performed consistently with proper form.
Child’s Pose for Total Shoulder Relief
Finding complete relief for your shoulders can be as simple as returning to one fundamental yoga position.
Child’s Pose effectively promotes shoulder mobility by targeting the latissimus dorsi muscles that often contribute to upper body tension.
To perform this beneficial stretch, kneel on your mat, extend your arms forward, and lower your torso onto your thighs.
Hold for three deep breaths, allowing your shoulders to relax and open. You’ll immediately feel the gentle stretch improving your range of motion.
Regular practice helps combat shoulder stiffness and enhances overall shoulder flexibility.
It’s particularly valuable if you’re engaged in activities that stress your shoulders.
Beyond physical benefits, Child’s Pose offers mental relaxation, creating a dual advantage for your recovery routine.
Incorporate it daily to experience thorough shoulder relief.
Seated Rows for Posterior Shoulder Strength
Strengthening the posterior shoulder muscles represents one of the most effective approaches to rehabilitation and injury prevention.
Seated rows specifically target your posterior deltoids, trapezius, and rhomboids—key muscles for proper shoulder alignment and function. You’ll benefit from this versatile exercise using either resistance bands or cable machines, making it accessible regardless of your fitness level.
- Perform 2-3 sets of 10-15 repetitions to improve shoulder mobility and stability
- Keep your back straight throughout the movement to maximize effectiveness
- Consciously squeeze your shoulder blades together during the contraction phase
- Include seated rows in your rehabilitation program to correct posture-related imbalances
- Progress gradually with resistance to build posterior shoulder strength without strain
This exercise is particularly valuable for anyone recovering from shoulder injuries or seeking to prevent future problems through balanced muscle development.
Progressive Mobility Program for Long-Term Recovery
To achieve lasting shoulder rehabilitation, a structured progressive mobility program spanning 4-6 weeks offers the thorough approach your recovery demands. Commit to 2-3 exercise sessions weekly, combining dynamic warm-ups with targeted strengthening exercises and stretching routines tailored to your specific needs.
Incorporate fundamental movements like pendulum swings, external rotations, and scapula setting to engage essential muscle groups responsible for shoulder stabilization. These exercises collectively build the foundation for improved flexibility and strength.
You’ll notice gradual improvements in your shoulder mobility as you consistently follow the program.
Don’t forget the importance of monitoring progress throughout your journey. Adjust resistance levels and exercise variations accordingly to optimize your recovery and restore full range of motion, ensuring you regain complete functional capabilities for daily activities.
Frequently Asked Questions
How Do I Improve My Shoulder Mobility?
Improve your shoulder mobility by incorporating dynamic warm-ups, specific stretches like cross-body and sleeper stretches, and strengthening exercises such as rows and external rotations. Practice consistently 2-3 times weekly and stop if you feel pain.
What Is Good for Shoulder Recovery?
You’ll recover your shoulder faster by combining mobility exercises, dynamic warm-ups, strength training, and regular stretching. Don’t skip physical therapy assessments—they’ll help tailor a program specific to your injury and limitations.
How Can I Regain My Mobility After Shoulder Surgery?
You’ll regain mobility by following your surgeon’s timeline for gentle pendulum swings and passive stretches initially. Progress to dynamic warm-ups like arm circles, maintaining consistency 2-3 times weekly under your physical therapist’s guidance for ideal recovery.
What Is a ROM Exercise for the Shoulder?
A ROM exercise for your shoulder is any movement that takes your joint through its full range of motion. You’ll typically do pendulum swings, arm circles, or wall slides without resistance to improve flexibility.
In Summary
You’ve now got a powerful toolkit to restore your shoulder mobility. Remember, it’s not about rushing—it’s about consistency. Start with gentle exercises and gradually increase intensity as your shoulders respond. By integrating these ten movements into your regular routine, you’ll experience improved range of motion, reduced pain, and better functional strength. Don’t wait for shoulder issues to worsen—begin your recovery journey today.

Leave a Reply